

3.3 Reflectance Transformation Imaging
3.3.3 RTI Processing
 |
Download the RTI Builder
The first step is to download the processing software, RTI Builder, developed by Universidade do Minho (Braga, Portugal) and Cultural Heritage Imaging 2007 – 2011. It is made available under a Gnu General Public License version 3 (Everyone is permitted to copy and distribute verbatim copies of this license document, but changing it is not allowed) and can be downloaded for free from the Cultural Heritage Imaging website.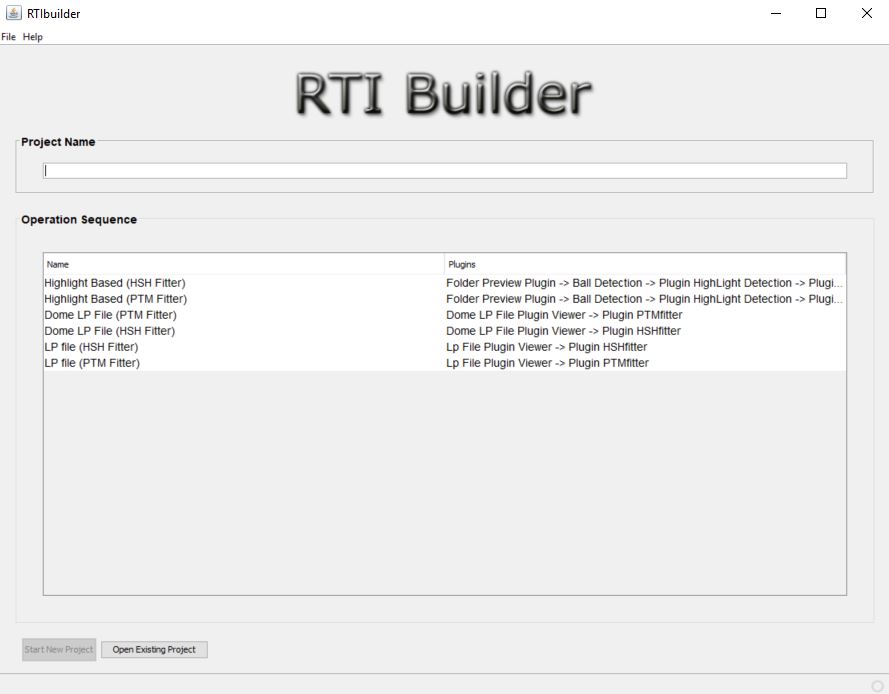 |
|
RTI Builder (click to enlarge the figure) |
The Fitting Algorithms: Polynomial Texture Maps & Hemispherical Harmonics
Your RTI dataset can be processed by using two fitting algorithms: Polynomial Texture Map (PTM) or Hemispherical Harmonics (HSH). The latter was developed by the University of California, Santa Cruz, Computer Science Department in collaboration with Cultural Heritage Imaging and it is part of the RTI Builder software you will download. However, the Polynomial Texture Map fitting algorithm needs to be downloaded and installed separately. This was developed by Tom Malzbender of the Hewlett-Packard Laboratories. The PTM fitter can be downloaded from this link. It is advisable to process your dataset using both fitters since they produce different results. For example, the PTM fitter produces matte surfaces, whereas the HSH fitter is good at rendering shiny material as shiny. Also, HSH does a good job for objects that have self-shadowing. Since the processing is not time-consuming, it is better to use both fitting algorithms so as to have the full range of rendering modes for your objects.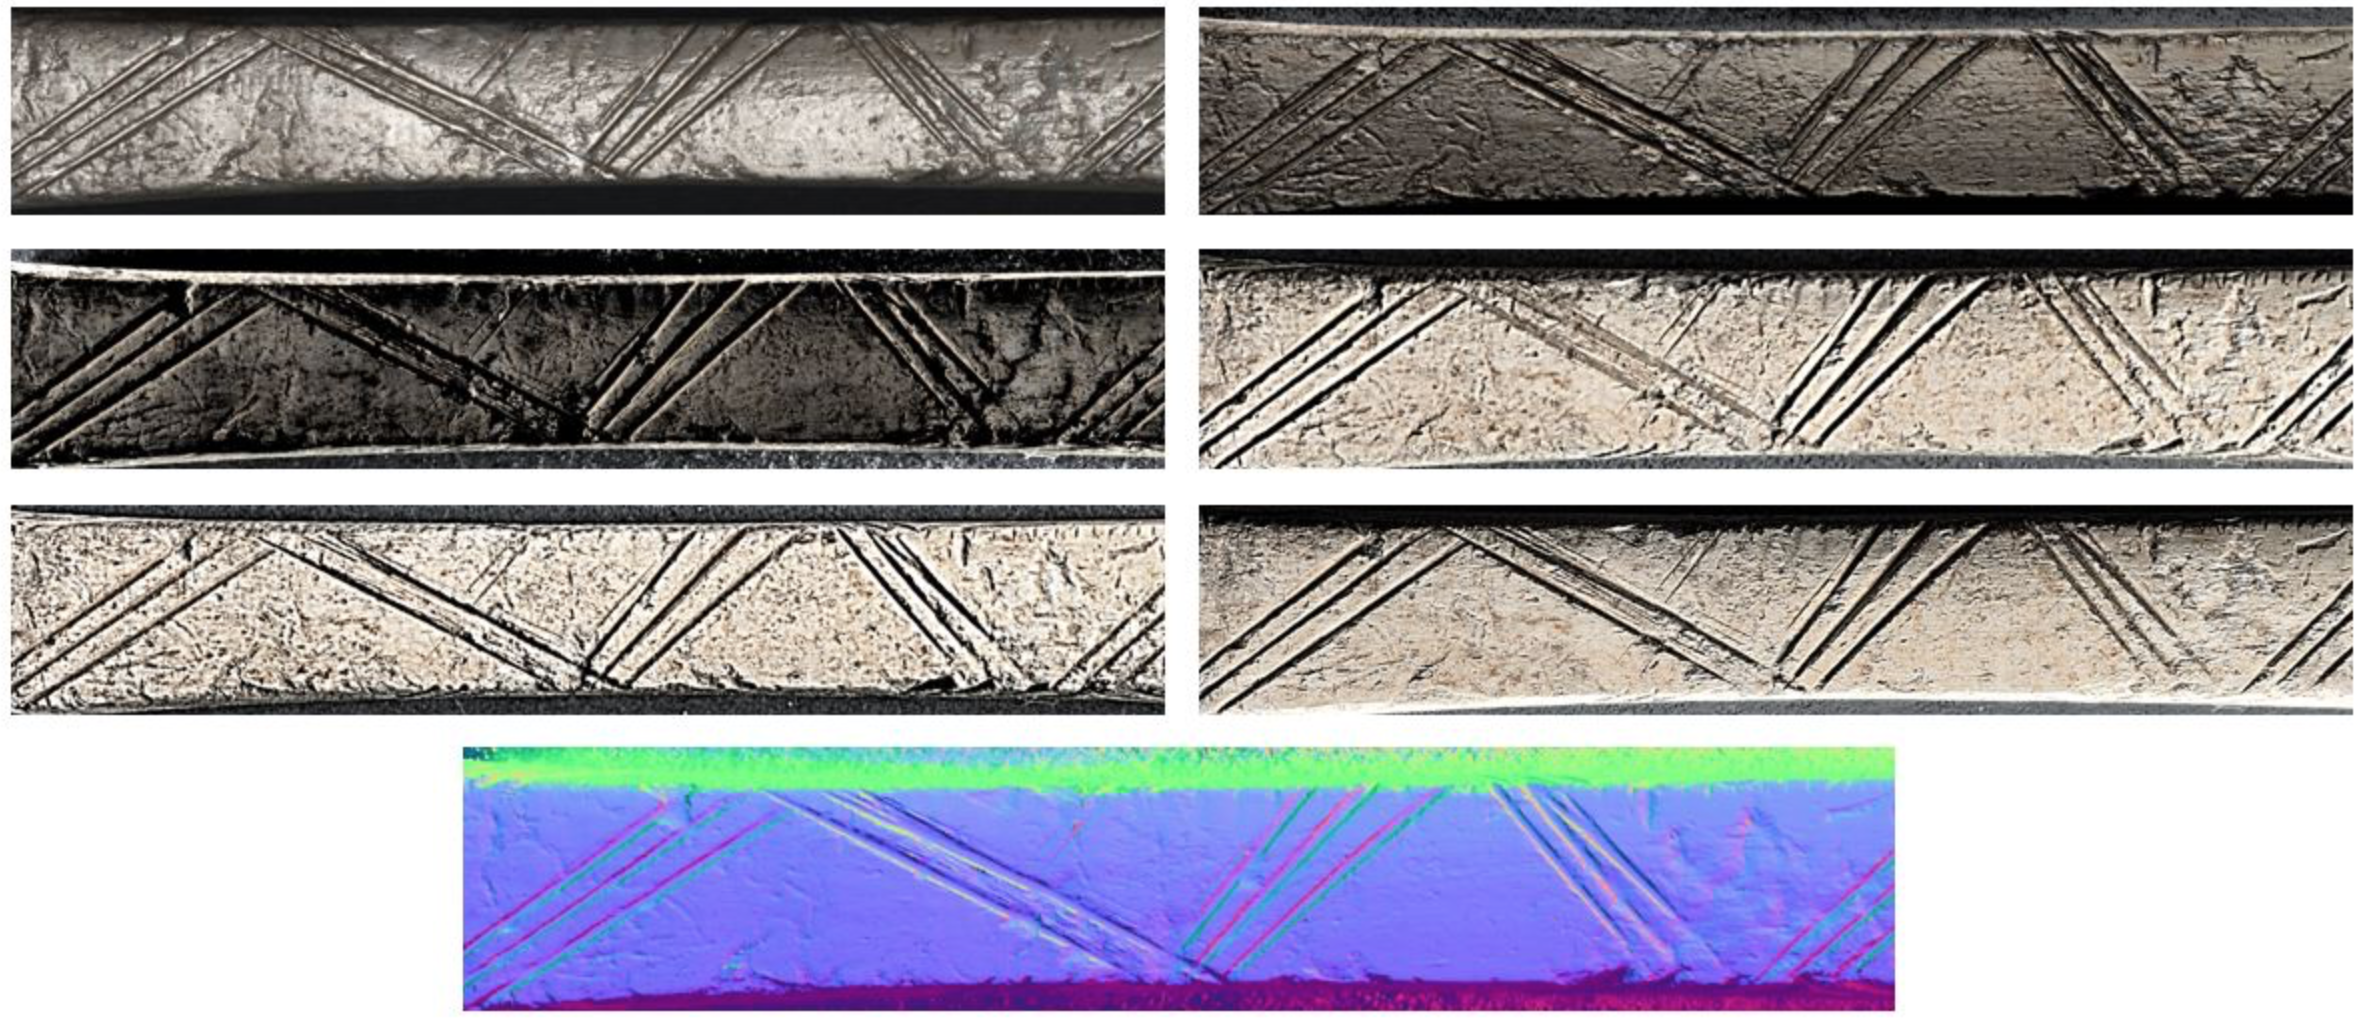 |
|
Different rendering modes of a bone artefact using the Polynomial Texture Map fitter in the RTI Builder |
Check-up before Processing
Before you start processing you need to make sure that you have all the files you need at hand. Remember that the RTI Builder cannot process RAW or TIF file formats but only JPG. It is advisable, as mentioned in the previous page, to take Images in RAW format and then convert them to the DNG format that will allow you to apply any exposure and white balance modifications. After this you can proceed with converting the DNG files into JPGs. It is important to note that if your camera cannot capture RAW it is fine to use JPGs directly. You just need to make sure to set your camera so the JPGs are rendered with the least possible compression. In computational photography applications, it is essential to have image files in the highest possible quality. Even if you are not going to make use of RAW or TIF files for some of them, it is important to keep them in your archive as they preserve the most information for the captured scene and can also be used in future applications, thus giving you better end products.Directory Structure
In order for the software to be able to read your files you need to create a very specific directory structure. Please make sure to follow the guidelines below, otherwise you may get error messages in the process.Please note: Folder names and file names should not have any spaces
- You need to create top level project folder. Naming conventions are important, therefore you need to be consistent. Typically, you will name the project using the project name, the object name, and a catalogue number (if applicable) or any other information that will make the project name self-explicit for future reference. Just remember that the project folder name should not have any spaces, e.g. Coin_2132FG_Front. The folder in which the project folder is placed in should also not have any spaces. For example, you should not put the folder under My Pictures, as there is a space in the folder name.
- The project folder (Coin_2132FG_Front) must contain two sub-folders, named as follows:
- jpeg-exports
- original-captures
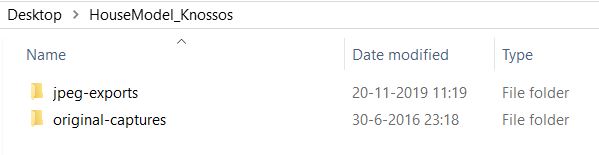
3. Your RAW or TIF files should be placed in the original-captures folder and the JPG files in the jpeg-exports folder. Please remember that the file names should not have any spaces. If they do, then you will need to rename them.
If you follow the above process you should not experience any issues. In some cases, jpg files get an extension with capital letters (*.JPG) which makes the software not to recognise the image files. If you get an error message you should do the following: Shift+right click on the jpeg-exports folder and select 'open command window here' enter: ren *.JPG *.jpg This will rename all your JPGs into jpgs and should solve the problem. You are now set to start processing.Watch the step-by-step tutorial below:
| Instructional step-by-step tutorial on Highlight RTI Processing (YouTube) |
References
- Cultural Heritage Imaging 2011. Reflectance Transformation Imaging: Guide to Highlight Image Processing. http://culturalheritageimaging.org/What_We_Offer/Downloads/rtibuilder/RTI_hlt_Processing_Guide_v14_beta.pdf
- For any issues during the processing you should consult the Cultural Heritage Imaging forum: http://forums.culturalheritageimaging.org/
Datasets
- Coin dataset. This is the dataset used for the presentation above.